Publishing an App
There are three ways to put an app in the Pebble appstore. The
Developer Dashboard is a web form and is the
only place where a listing can be edited after it is created. The pebble
tool and CloudPebble build the app, capture screenshots and upload the result
in one step. All three create the same listing, and an app submitted from one
can be updated from another.
Before starting, read Preparing a Submission for the fields and image sizes that are required. Apps go live as soon as they are submitted. There is no review queue.
Published listings can be browsed at apps.repebble.com to see how other developers present their apps.
Signing In
The Developer Dashboard, the pebble tool and CloudPebble all use the same
Pebble account. Sign in with Google, GitHub or Apple. A developer account is
created on first sign-in.
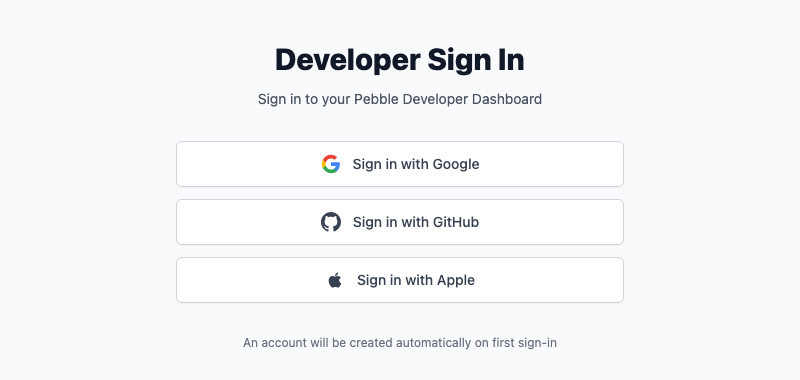
Use the same sign-in method each time. If the same email address was already used with a different method, the dashboard asks for a sign-in with the original method and then links the new one to the account.
Using the Developer Dashboard
Submitting a New App
Open the Developer Dashboard and click New.
Upload the
.pbwfile. The dashboard reads the app type, UUID, version and target platforms from it. Check the Version Number and add Release Notes if wanted.Enter the App Name and Description. For a watchapp, choose a Category.
For a watchapp, upload the Small Icon and Large Icon, or leave them empty to have them generated.
Upload up to five screenshots for each target platform, and optionally a Banner Image per platform. Screenshots are optional in the dashboard, but listings without them show nothing in the appstore apart from the icon and the text.
Add the Website URL, Source Code URL and an Android companion app if there is one.
Choose the App visibility and click Submit App.
The app appears in the dashboard's app list with a public link of the form
https://apps.repebble.com/<id>. Share this link, or search for the app in
the Pebble mobile app.
Adding a New Release
Open the app in the dashboard and click New Release.
Upload the new
.pbw. Its UUID must match the app, and its version must be one that has not been used before.Add Release Notes. Leave Publish immediately checked unless the release should stay as a draft.
Click Create Release.
Each release in the app's release list has a Publish or Mark Draft toggle, so a release can be withdrawn without hiding the whole app. The appstore offers only the newest published release, and uses its binaries to decide which watches the app is compatible with. Older releases are not served, so dropping a platform from a new release makes the app unavailable on that hardware.
Editing a Listing
Click Edit on the app's page to change the name, description, URLs, companion app, screenshots, banner and icons, and to change the App visibility between Listed, Unlisted and Hidden. Changes are live after saving, apart from appstore pages that are cached for up to ten minutes.
Using the pebble Tool
The publish command builds the project, captures screenshots from the
emulator and uploads everything. Run it from the project directory:
$ pebble login
$ pebble publish
If the project's UUID is not in the appstore yet, the tool asks for the app name, version, description, source URL and, for a watchapp, the category and icons. If the UUID already belongs to one of the developer's apps, the tool uploads a new release of that app and only asks for screenshots.
Screenshots are captured for every target platform with a rollover GIF by
default. Pass --no-gif-all-platforms to skip the GIF and --all-platforms
to capture static images instead, or choose Select local screenshot/GIF
files at the prompt to upload existing files. Local filenames must start with
the platform name followed by an underscore, for example
emery_main.png or gabbro_menu.gif. The files written by
pebble screenshot --all-platforms already follow this pattern.
Use --release-notes to set the release notes without being prompted:
$ pebble publish --release-notes "Fix the date on the first of the month"
Publishing from CI
With --non-interactive the tool does not prompt. Everything a new app needs
is passed as flags, and the sign-in token comes from the
PEBBLE_FIREBASE_ID_TOKEN environment variable or the --firebase-id-token
flag instead of a stored pebble login session:
$ export PEBBLE_FIREBASE_ID_TOKEN=...
$ pebble publish --non-interactive \
    --name "My Watchface" --description "A clean analog face." \
    --source https://github.com/example/my-watchface \
    --screenshots screenshots/emery_1.png screenshots/gabbro_1.png
For a watchapp add --category and, if generated icons are not wanted,
--icon-small and --icon-large. For an existing app only
--release-notes, --version and --screenshots are used. Without
--screenshots the tool captures from the emulator, which needs a working
emulator on the CI machine. A new app must have at least one screenshot.
Releases made with pebble publish are published immediately and new apps
are Listed. Change the visibility afterwards in the Developer Dashboard if
needed.
Using CloudPebble
CloudPebble has a Publish entry in the project sidebar for C and JavaScript SDK projects. It uses the account that is signed in to CloudPebble, so no extra sign-in is needed.
Build the project. Publishing uses the most recent successful build.
Open Publish. For a new app, fill in App name, Version, Description and optionally Source URL. For a watchapp choose a Category, and either upload icons or leave Auto-generate icons selected.
Under Screenshots, click Auto-generate next to each platform to capture a screenshot and a short GIF from the emulator, click Upload to use your own files, or Auto-generate All to do every platform at once.
Click Publish to App Store.
When the project's UUID is already in the appstore, the pane shows Publish Update instead. Only the version, release notes and new screenshots are needed. If the version has already been used, CloudPebble reports Version x.y already exists with a link to the project settings to change it.
The success page links to the public appstore listing and to the Developer Dashboard for further edits.